Whew! Sometimes things get a little crazy with home remodels, and this little room was big on drama for a minute. Here is where we left off last week…demolition of the guest bathroom (you can see how it looked when we bought the house here). You can also find Week 2 here. Below you can see the ivory tile with the decorative pink border that was removed from the bathroom.
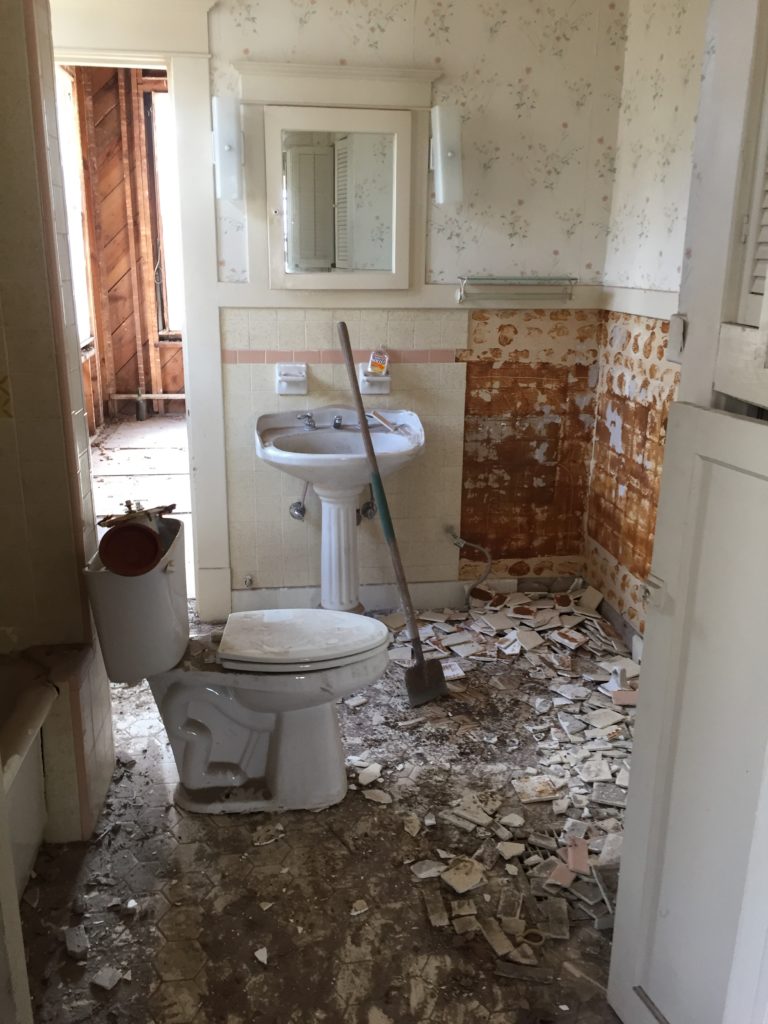
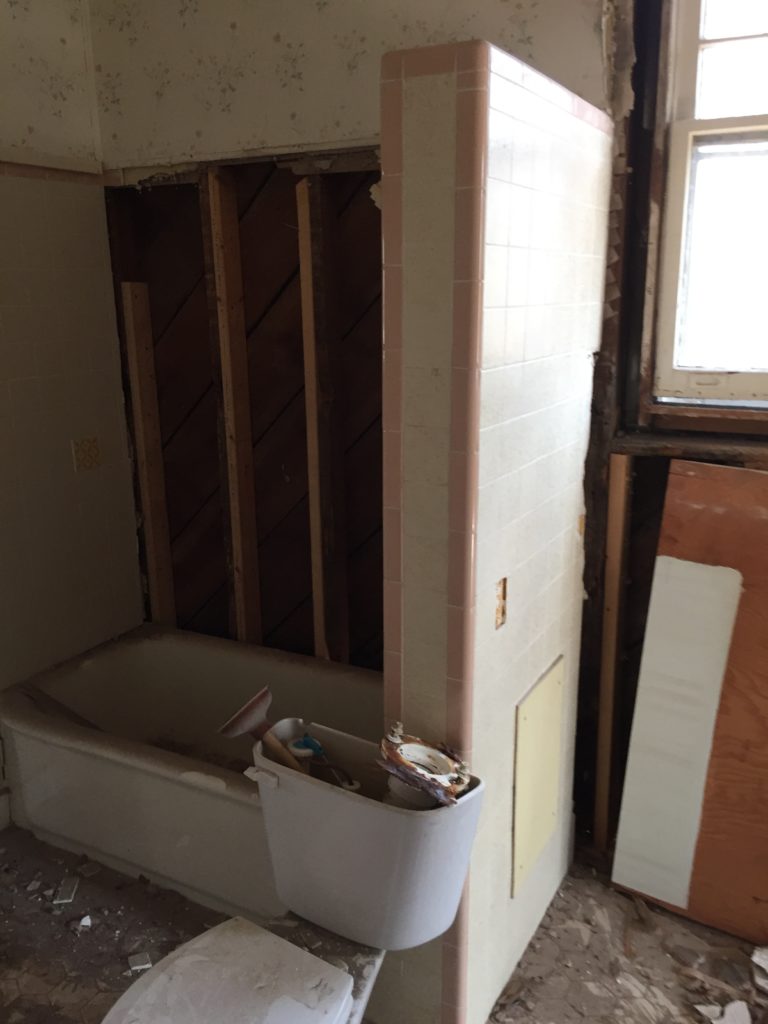
After the tile came down, we also took down the wall that was at the end of the bathtub. That wall blocked a lot of the natural light and so it immediately opened up the room when the wall came down. Even in all of the mess there was literally light at the end of the tunnel, so to speak.
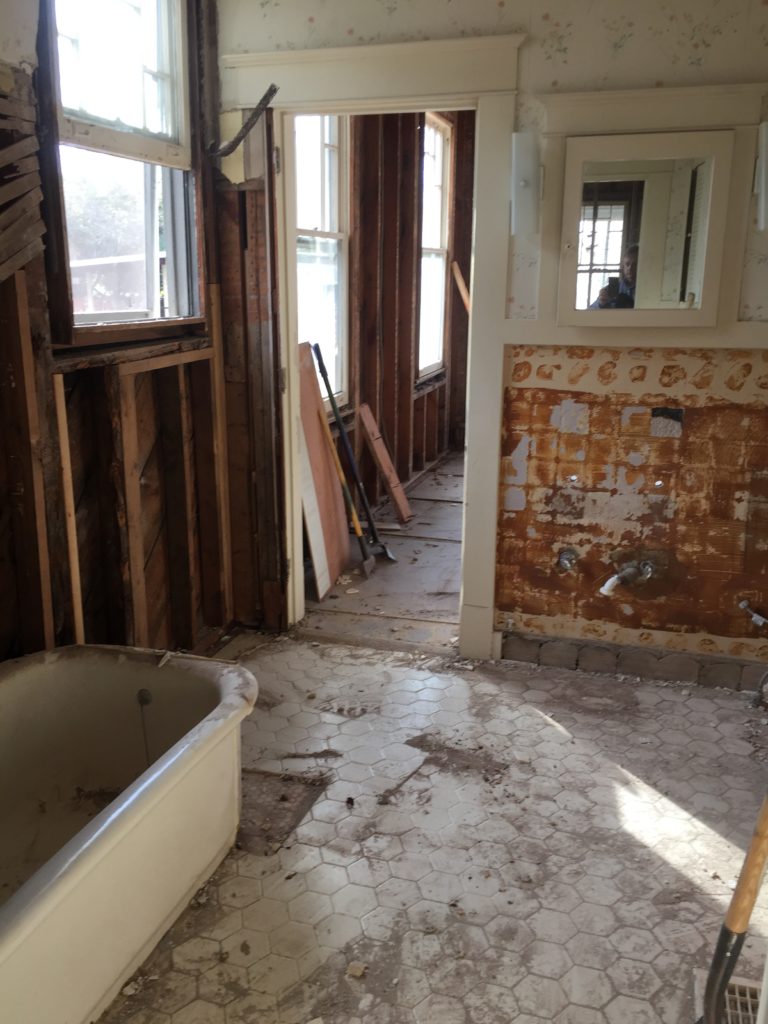
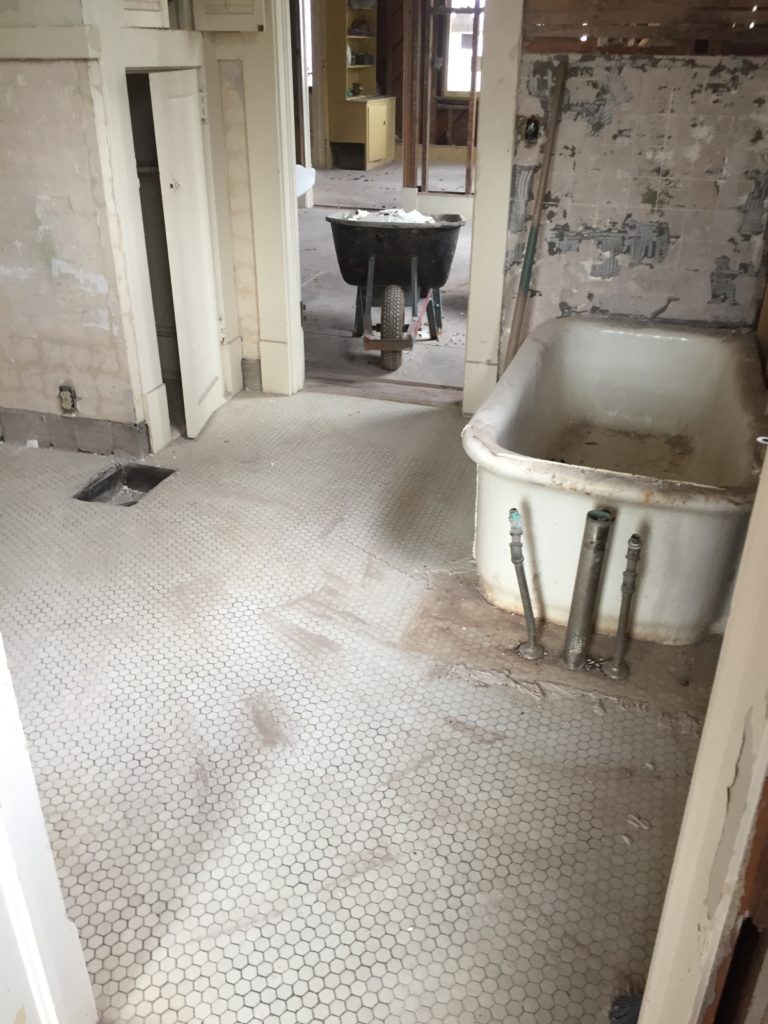
The photo above shows the floor of the bathroom that was the top layer floor. The photo below shows the tile that we uncovered when we took up the top layer. The smaller tile is the original flooring that was put down 100 years ago. The original tile was placed directly into the cement floor. For us to be able to put in new tile, we will have to add leveler to the floor and put the tile on top of it. The original tile floor is pretty, but the floor is also sinking and so we need to redo it all. Speaking of sinking…that is where the drama came in. The very, very heavy cast iron tub had a small leak in it over the years (decades?) and the original floor joists were made of wood. The moisture + the wood attracted termites…and the termite damage caused the floor under the tub to become unstable. I am not sure if I have mentioned this yet, but we also had the house lifted in order to build an entirely new foundation and to add a basement. With the house lifted 6 feet, we were able to go in and repair and replace floor joists before the entire tub ended up, unintentionally, in the basement. That was slightly terrifying to know that at any time it could have fallen through. Needless to say, when I say “we” fixed this room, I really mean my husband and several excellent and brave subcontractors. I stayed far, far away and basically said lots of prayers for them all! 🙂
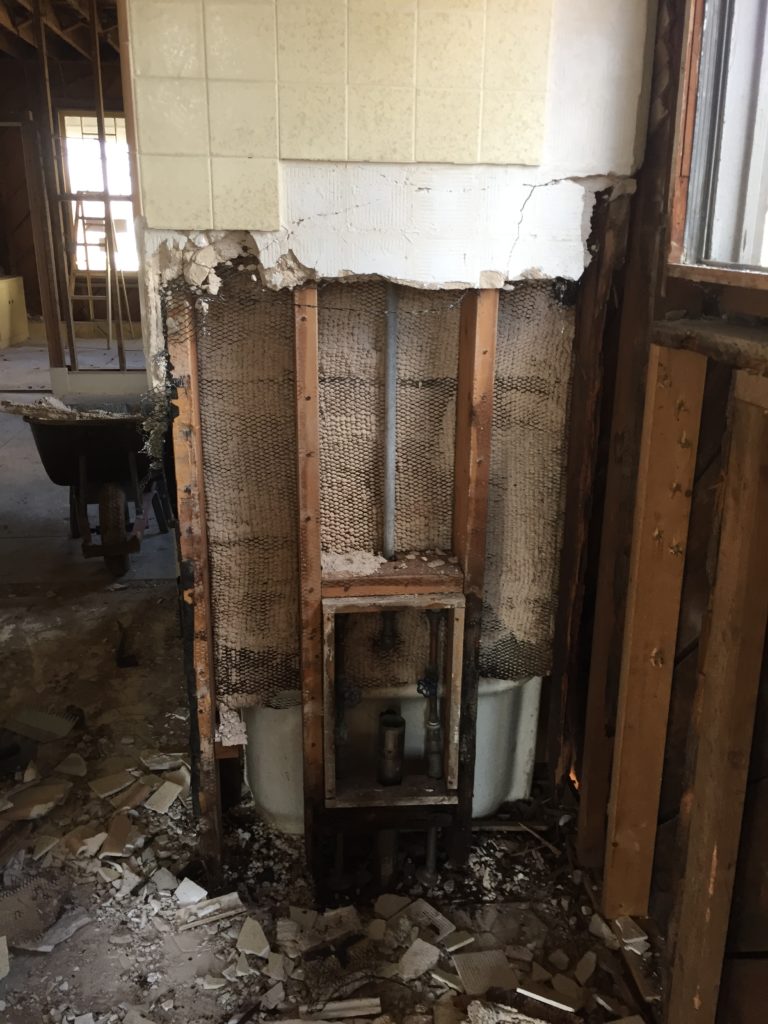
With that stressful piece of the puzzle under control. one of the main goals at this stage of the remodel is rerouting the plumbing. We want to change the plumbing from one end of the bathtub to the other end so that the shower head and faucet will come from the wall that connects to the guest bedroom. This exciting photo below shows the very old mixture of galvanized and copper plumbing pipe from 100 years ago that we removed. 🙂
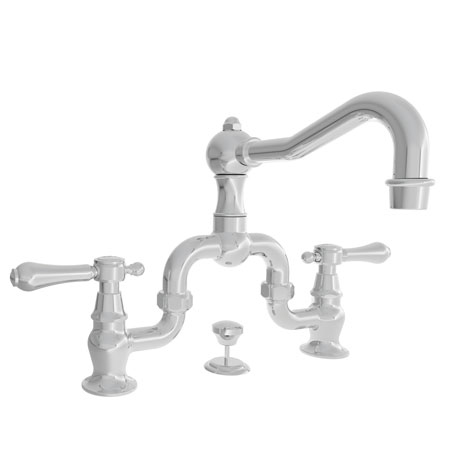
I don’t know a lot about the plumbing behind the walls, but I enjoy choosing the fixtures that go along with the plumbing. I want to maintain the historical nature of the house and carry it through with the vanity fixtures- while also adding in fresh, new details that will mix the old with the updated. My goal is a great balance of historical preservation and youthful liveliness. One of my favorite pieces that feels historical is this bridge lavatory faucet from Newport Brass- I love the shapes of all of the pieces…
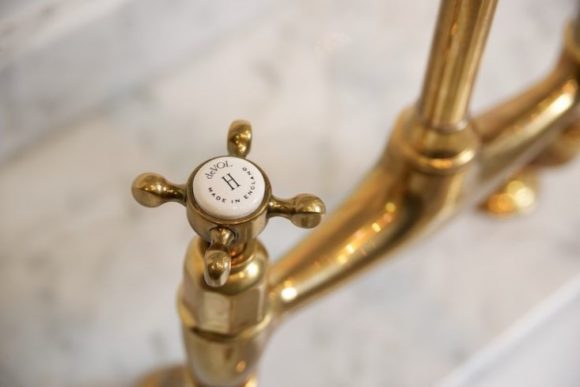
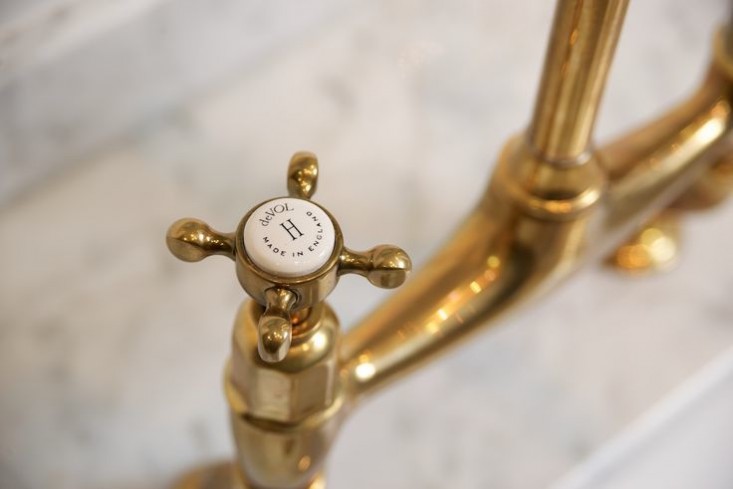
I also love the porcelain taps on this brass faucet…
I found the flooring design that I also think will be a good fit for the room. I love the Greek key pattern and so it was easy to decide once I saw it at the tile shop. The pattern is classic and just pretty to look at each day. I really want to put 1918 in the tile somehow…
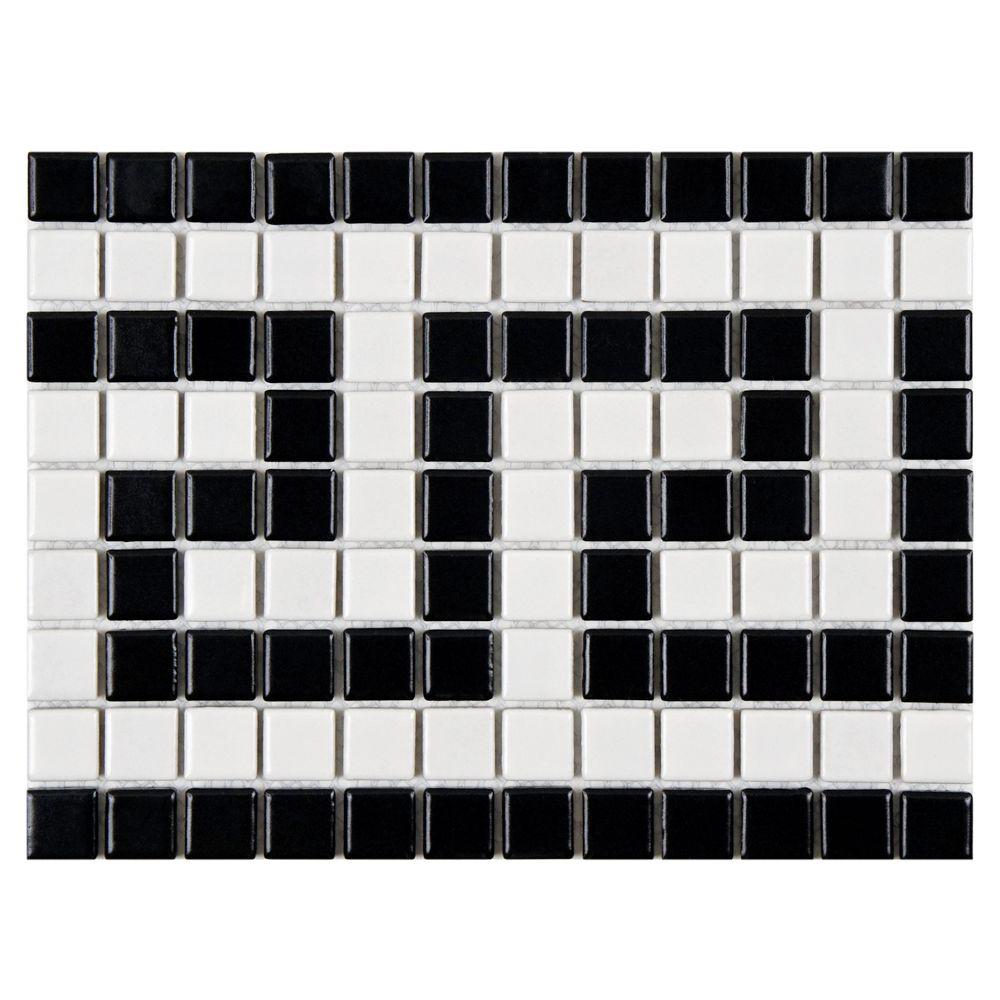
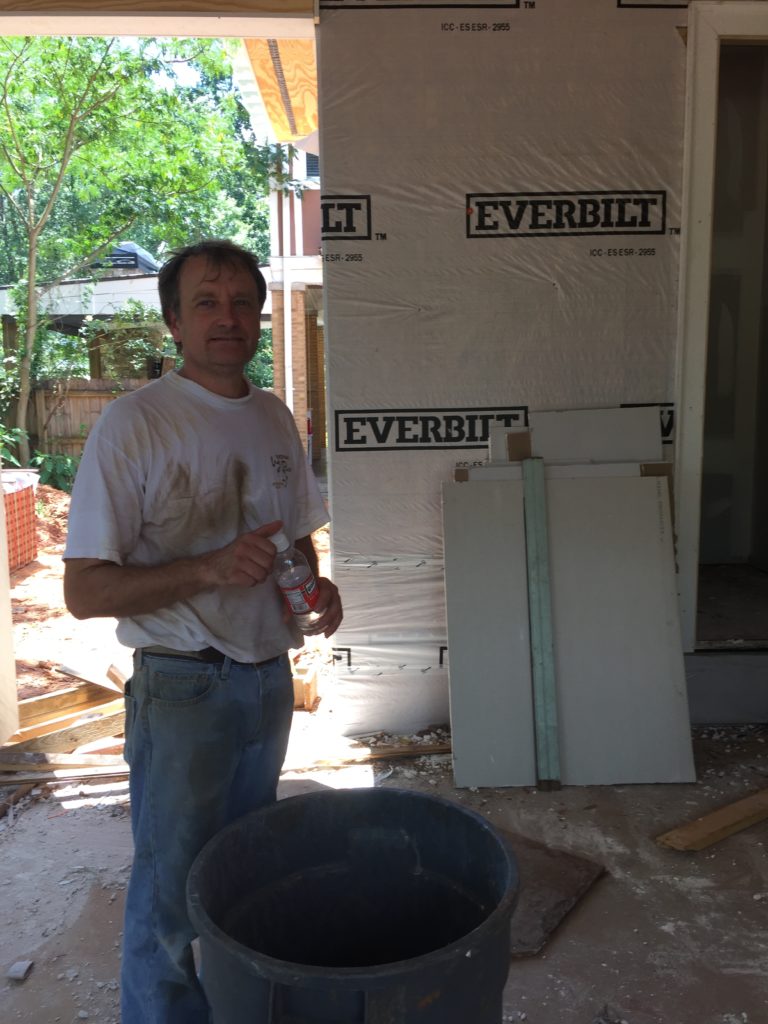
These are the details that I get excited about- deciding on the cosmetic touches- while my husband is thrilled with the fact that we survived the bathtub adventure and that the plumbing is all new. I am really thankful for his knowledge and experience during this renovation- he has said a million times that tearing it down and starting over would be a lot easier and smarter…but we made a promise to the previous owners to keep the house with its original facade and basic structure. I am actually really happy to be able to preserve an old home, and I am thankful my husband is willing! His basic uniform for this project- dirt with a side of more dirt. 🙂
And so, that concludes the Week 3 Update for the One Room Challenge- as you can see we took on an entire house at one time and I am focusing on the design of one of the rooms. The guest bathroom is actually one of my favorites- I think because I have known what I wanted it to look like since day one and I’ve enjoyed executing the design. For the next three weeks, I will focus more on the design and watching the parts and pieces come together. Cabinets, floor, paint, and lighting are next up on the list to share with you. Fingers crossed that I can get the fabric delivered in time to have the drapery made for the window. Thank you for checking in each week- and be sure to see all of the other rooms being transformed at the One Room Challenge. Thank you to Linda for hosting such a fun way to motivate us all to get one room completely finished!! Please check back each week and see the progress! Have a great week!
Cheers xo,
Lydia
